
In our fast-paced lives, maintaining radiant and healthy skin can be a challenge. That elusive "glow" we see after a salon facial? It's not out of reach. You can now enjoy the same benefits without stepping out of your home. Whether you're prepping for a special occasion or just indulging in some much-needed self-care, understanding the facial steps at home can transform your skincare game.
A facial isn't just about pampering—it's a vital part of maintaining skin health. It helps remove dead skin cells, unclog pores, boost blood circulation, and restore natural hydration. But beyond just the science, a good facial can make you feel refreshed, confident, and ready to take on the world.
In this guide, we'll walk you through how to do a facial at home, the right preps, and some post-care tips to maintain that salon-fresh glow.
01Benefits of Doing a Facial at Home
You don't need a spa appointment to achieve that enviable radiance. Here are some compelling reasons why facials at home are worth your time:
- Cost-Effective: Save hundreds over time while still achieving professional results.
- Convenient: No bookings, no travel. Your bathroom becomes your beauty haven.
- Customizable: Use products that are suited to your unique skin type.
- Hygienic: You control the cleanliness of your tools and environment.
- Consistent Care: Regular facials at home are easier to schedule into your routine.
- Gentle on Skin: DIY facials mean you can skip harsh treatments and opt for soothing, nourishing options.
- Stress Relief: The ritual itself can be incredibly calming and restorative.
- Promotes Healthy Skin Habits: Encourages you to pay attention to your skin's needs regularly.
02How to Prepare for Facial Steps at Home
Before diving into your facial steps, make sure you have everything you need on hand. Preparation ensures a smooth and enjoyable experience.
Things to Keep Handy:
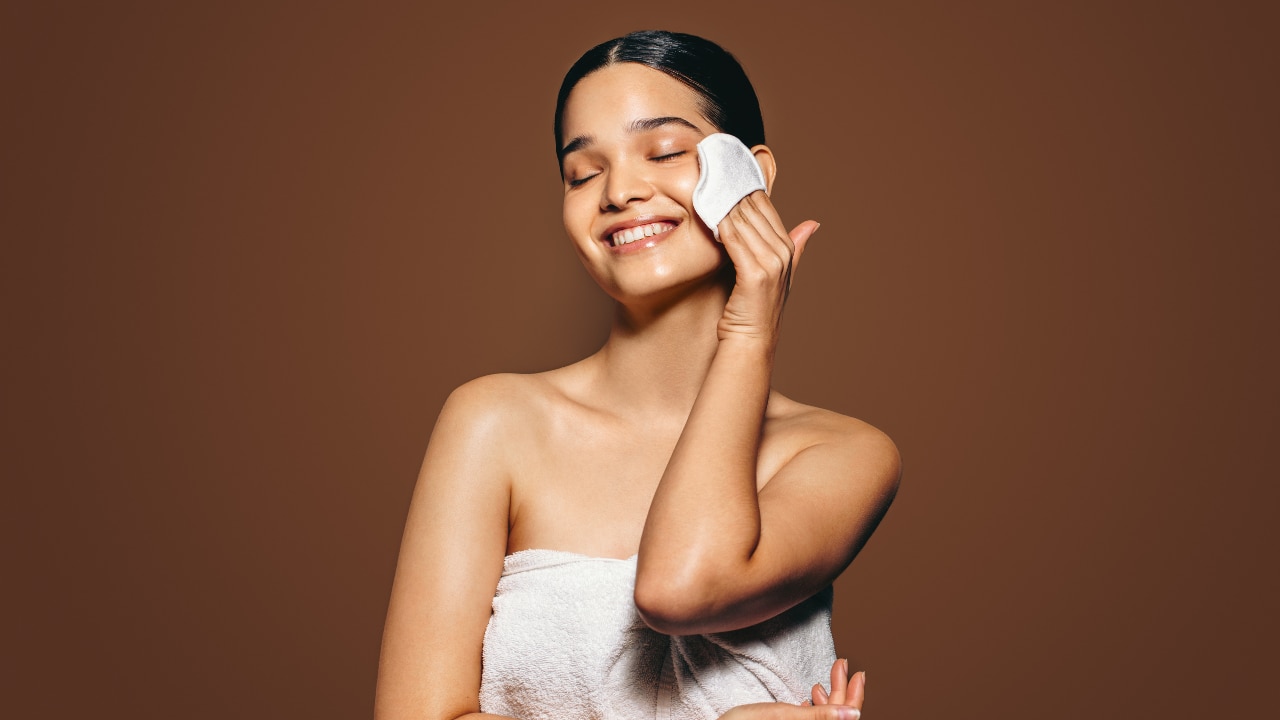
- Gentle Cleanser:
A non-stripping cleanser like Simple Smoothing Gel Cleanser is perfect for removing dirt and prepping your skin.
- Exfoliating Scrub:
Use a mild exfoliant to slough off dead skin.
- Steam Bowl
A bowl of hot water for steaming your face (optional, but effective).
- Towel
To pat your skin dry or drape over your head while steaming.
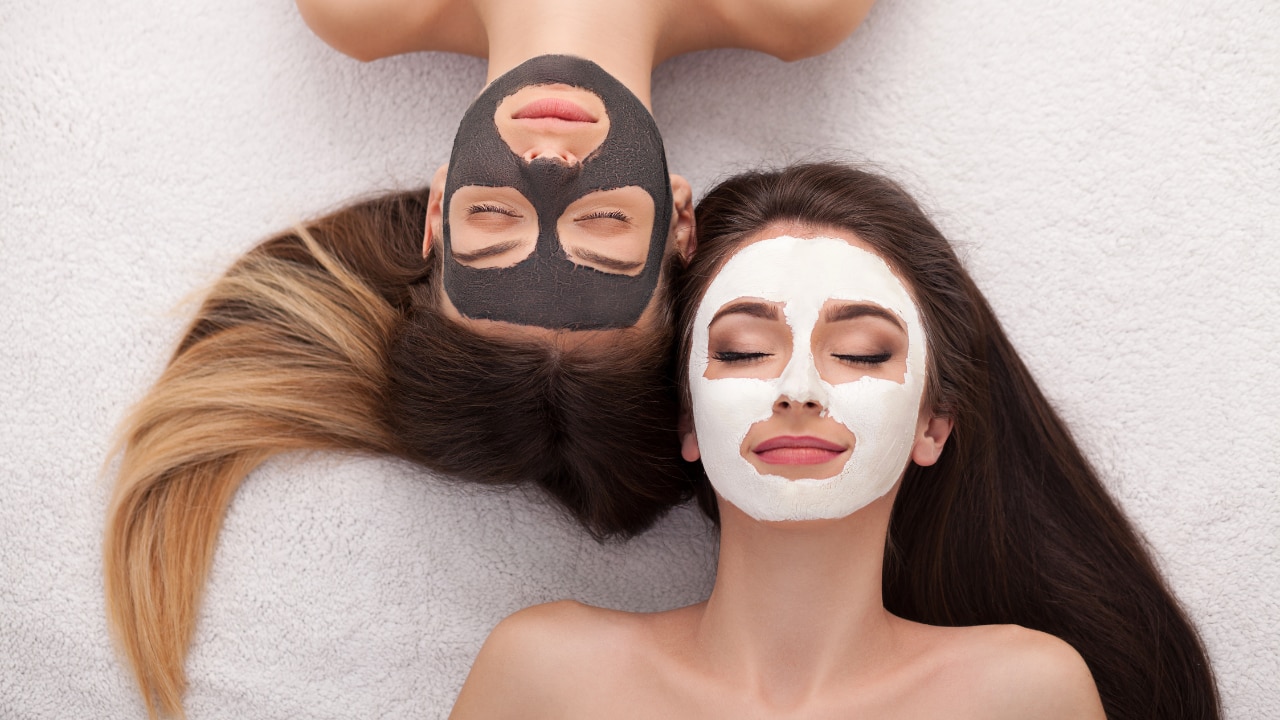
- Face Mask:
A clay or hydrating mask suited to your skin type.
- Toner:
A refreshing toner like Simple Soothing Facial Toner helps restore balance post-cleansing.
- Moisturiser:
Hydration is key. Choose a light option like Simple Hydrating Light Moisturiser or the Pond's Super Light Gel Oil-Free Moisturiser.
03How to Do Facial at Home: Step-by-Step Guide
Here's the ultimate guide on how to save time and do your facial at home, with these easy steps:
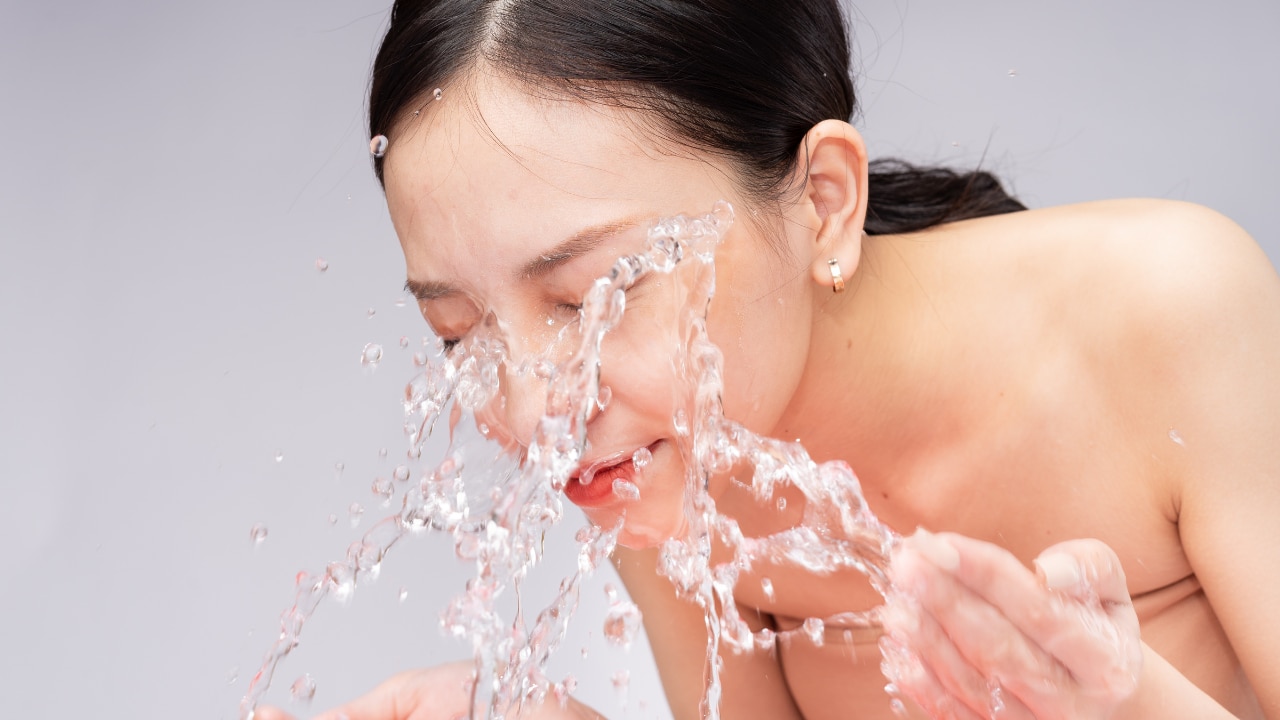
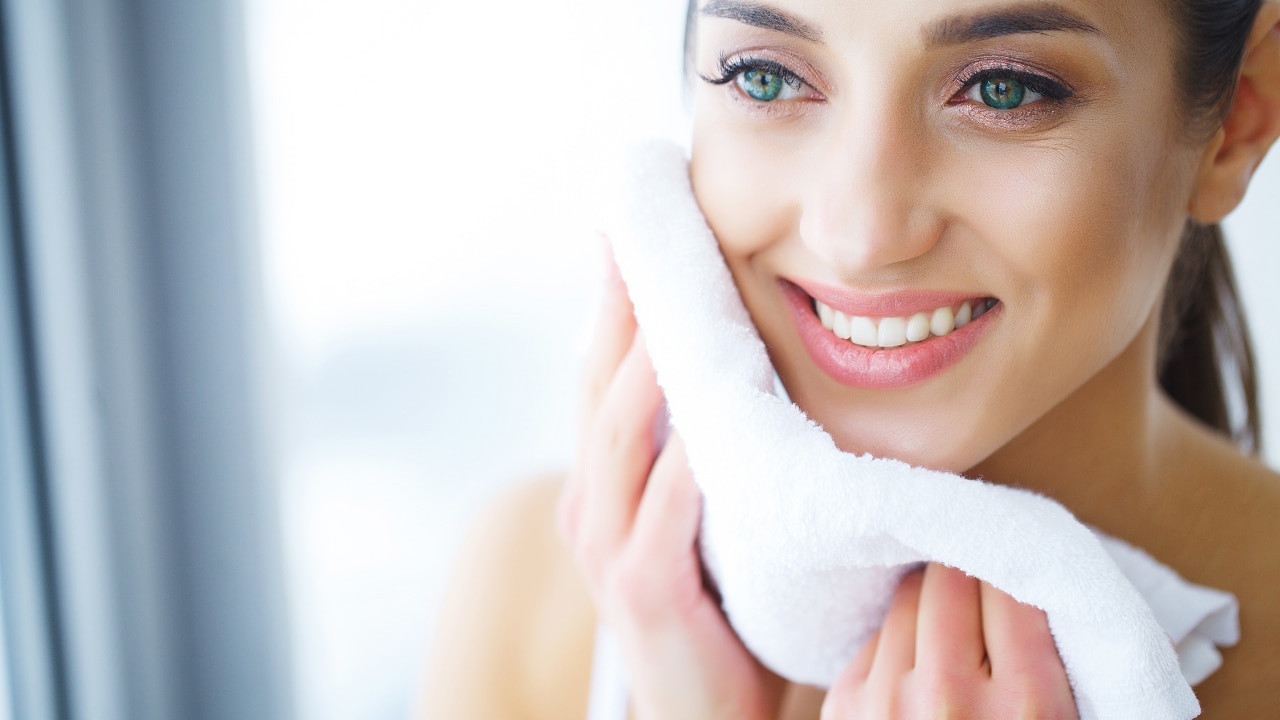
Step 1: Cleanse Thoroughly

Start by removing all makeup, dirt, and excess oil with a gentle cleanser. Simple Smoothing Gel Cleanser works well to clean without disrupting the skin's natural barrier.
Why this matters: Cleansing is the foundation. Without a clean canvas, the following steps won't be as effective.
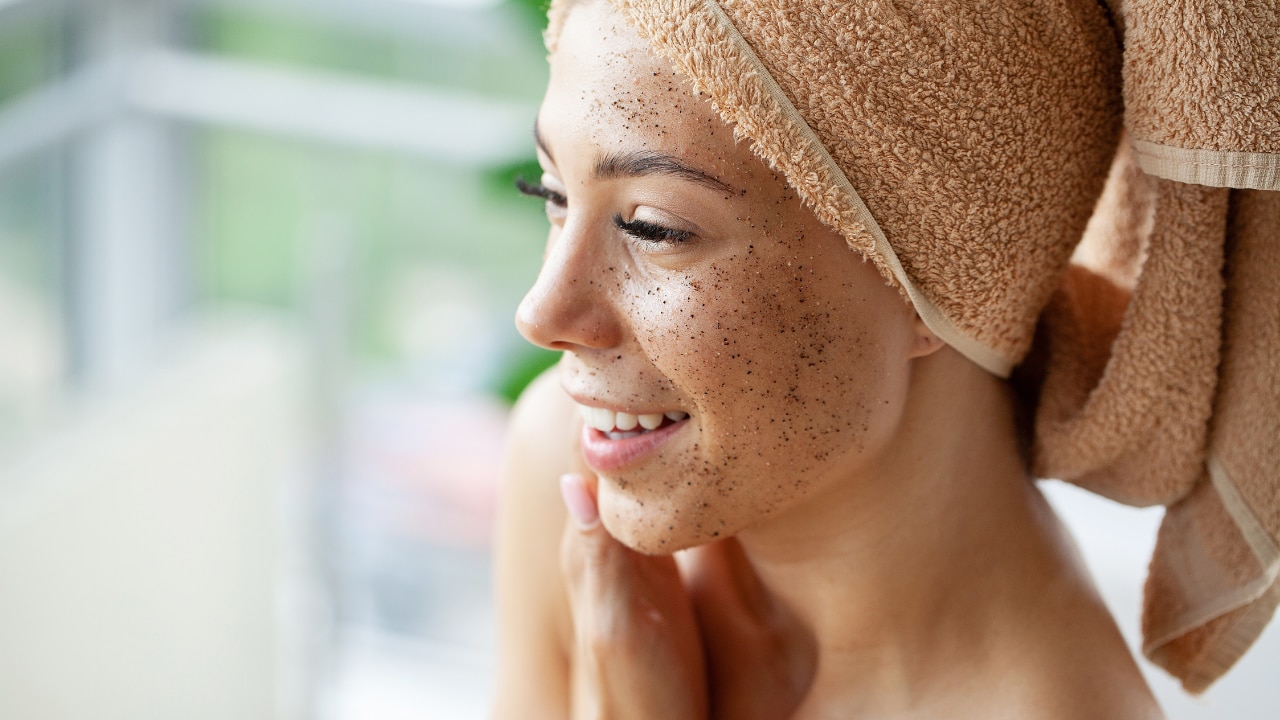
Step 2: Exfoliate Gently
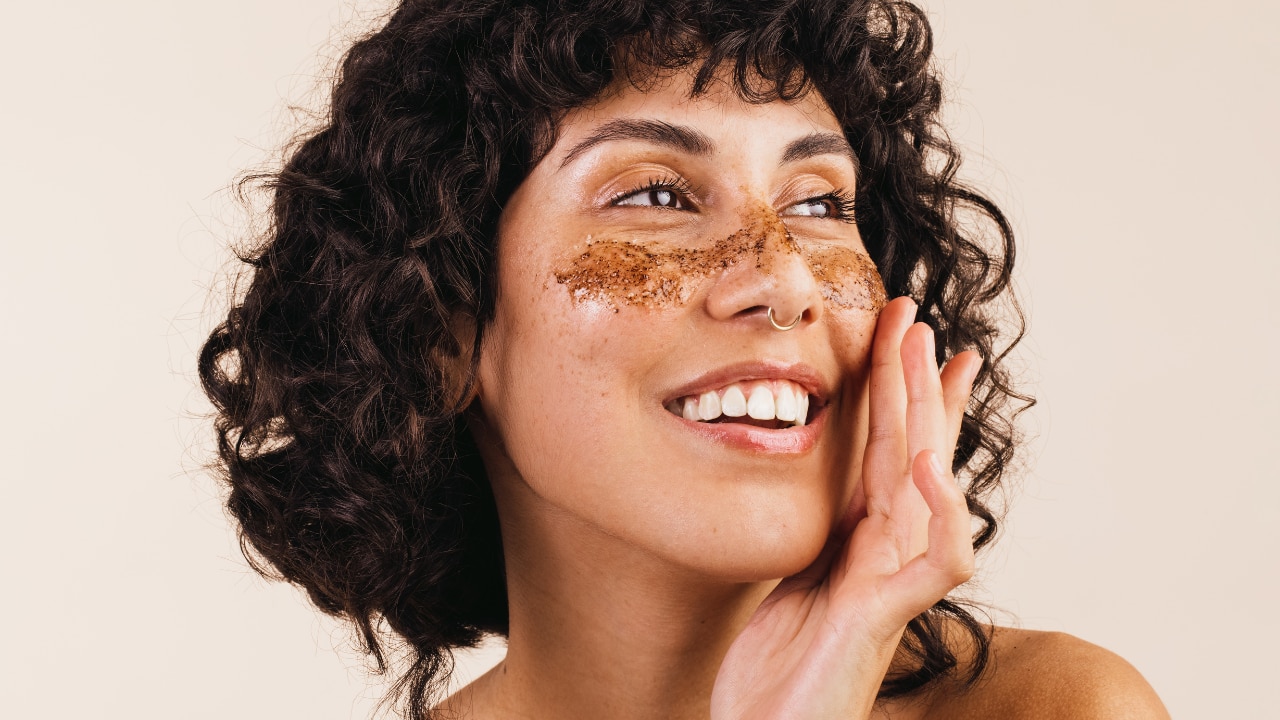
Use a mild scrub to exfoliate dead skin cells. Focus on areas prone to congestion, like the nose and chin. Avoid harsh scrubs that can cause microtears in the skin.
Tip: Do this 1–2 times per week only, especially if you have sensitive skin.
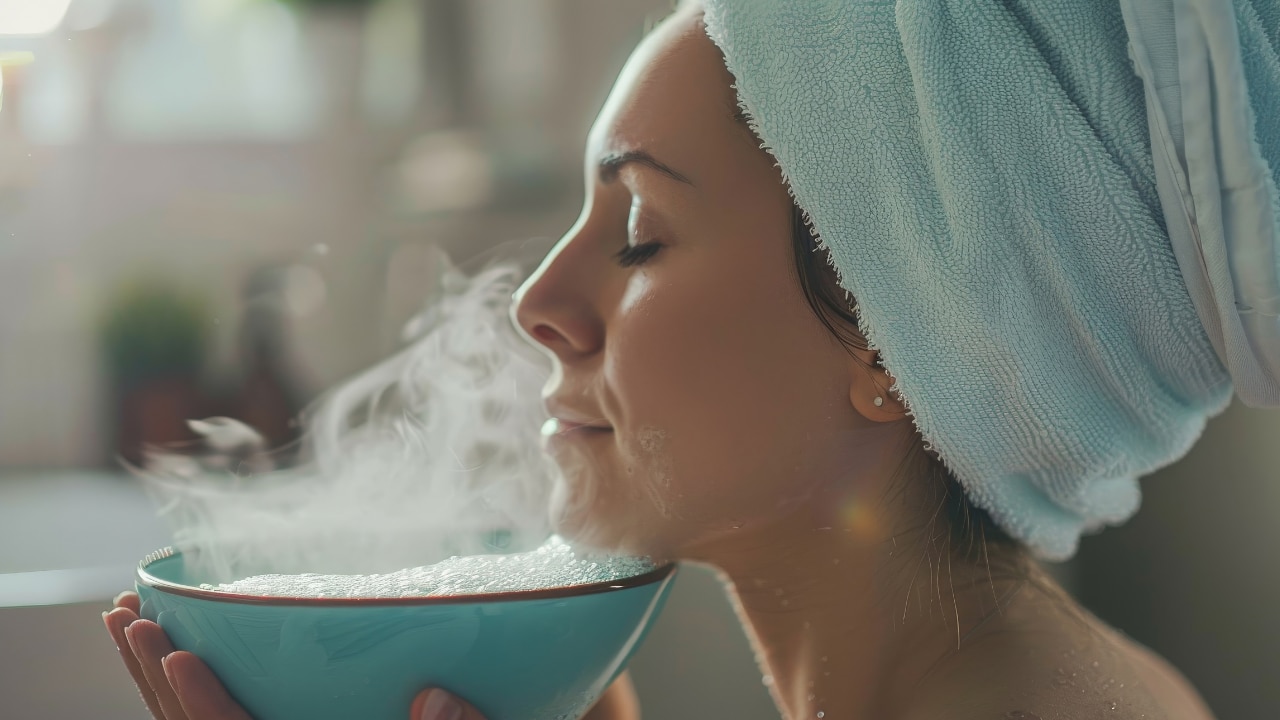
Step 3: Steam for Pore Perfection
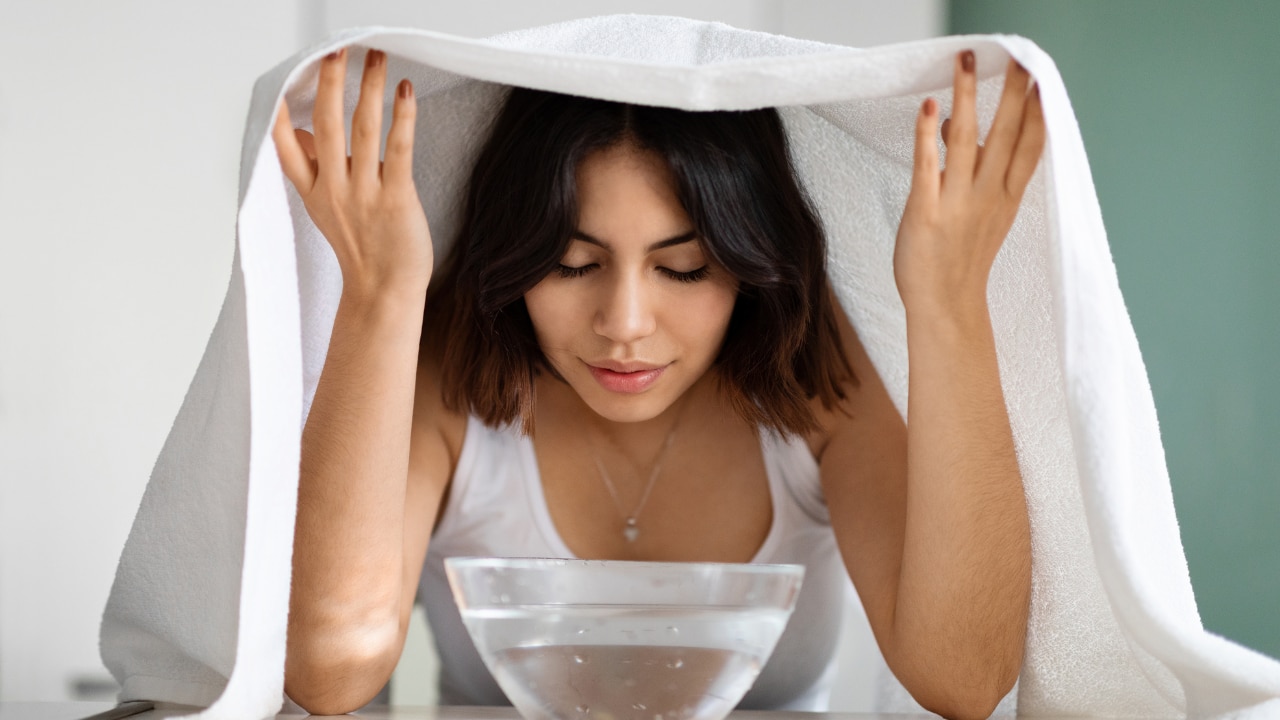
Fill a bowl with hot water and lean over it with a towel over your head to trap the steam. Steam for 5–10 minutes to open up your pores and soften blackheads.
Optional but helpful: Add a few drops of essential oil like tea tree or lavender for added benefits.
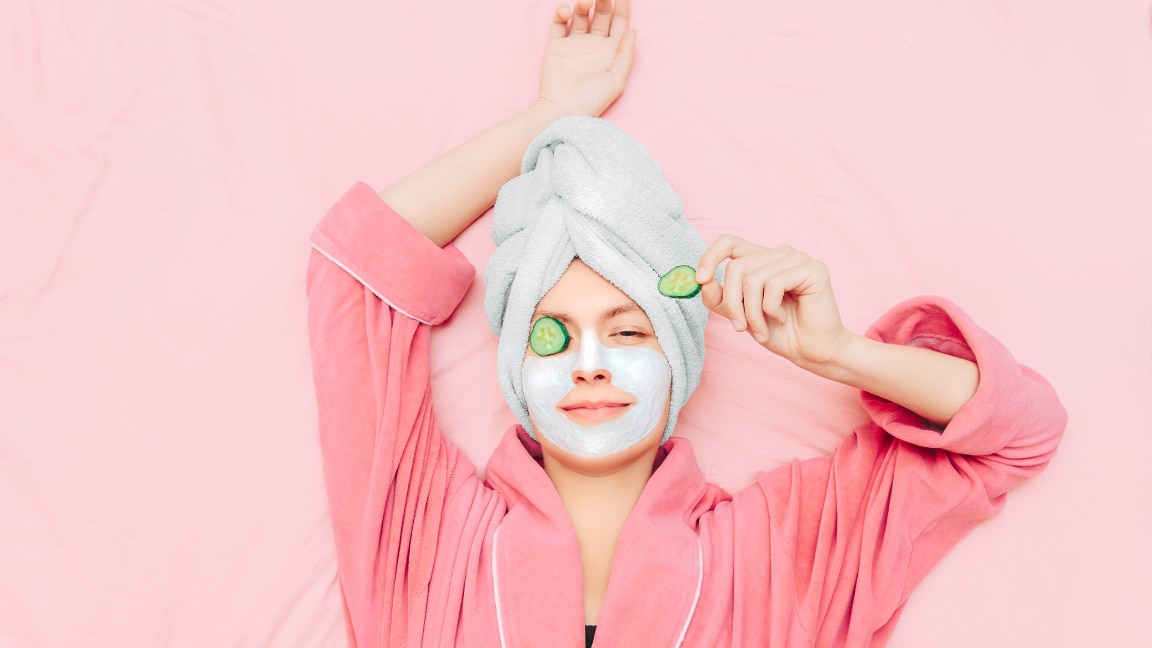
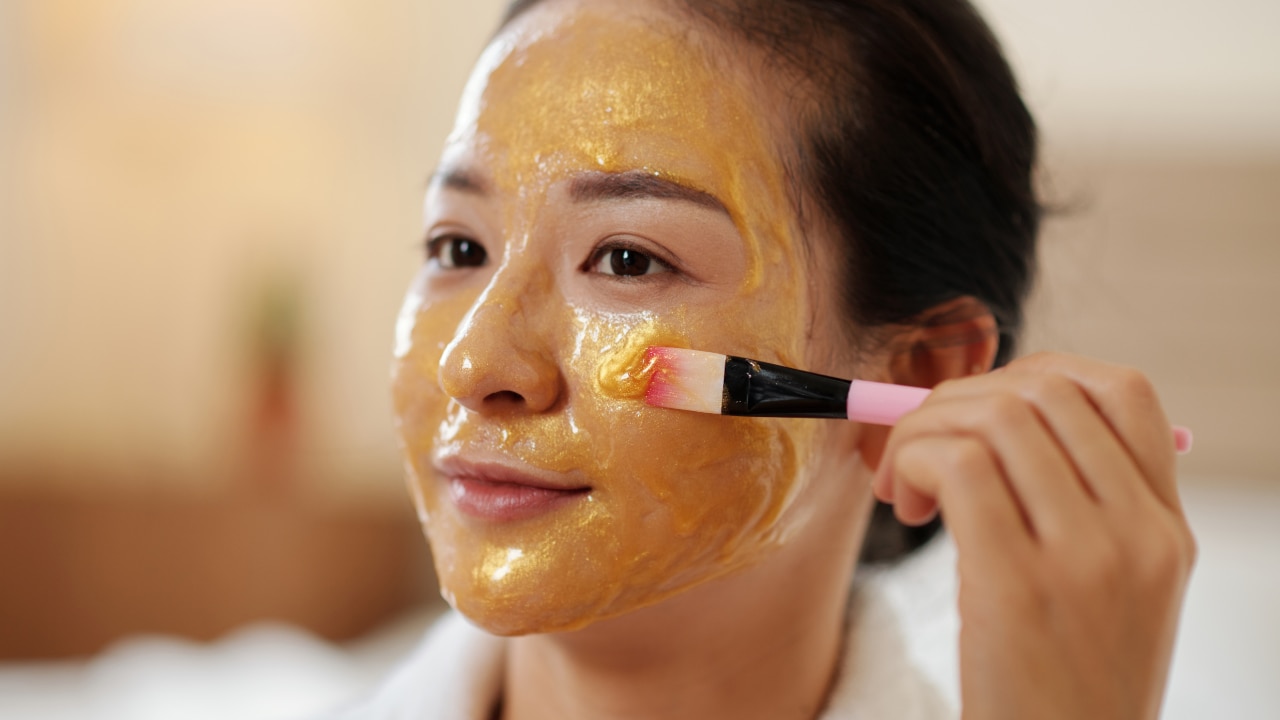
Step 4: Apply a Clay or Hydrating Mask
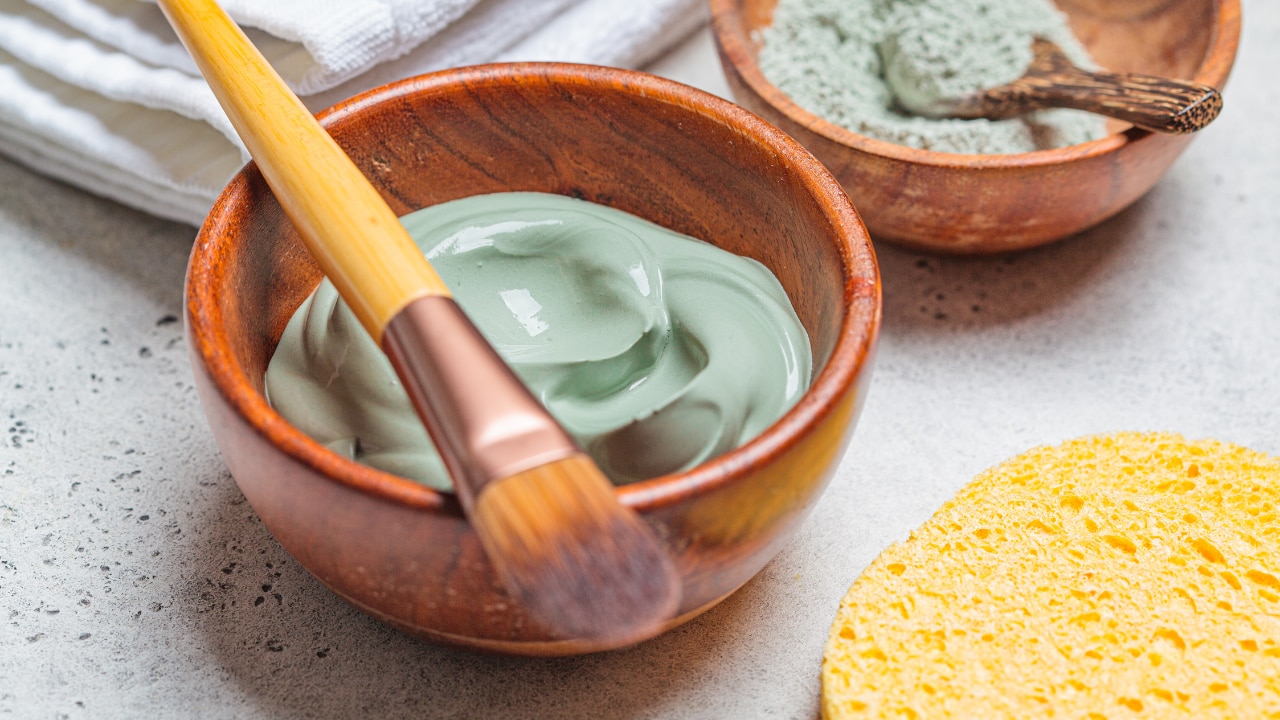
This step targets your skin's needs—whether it's oil control or hydration. For dull, tired skin, the Simple Protect N Glow Vitamin C Brighten Clay Mask is a game changer. Packed with vitamin C and natural clay, it detoxifies and boosts your glow.
Leave on for 10–15 minutes, then rinse with lukewarm water.
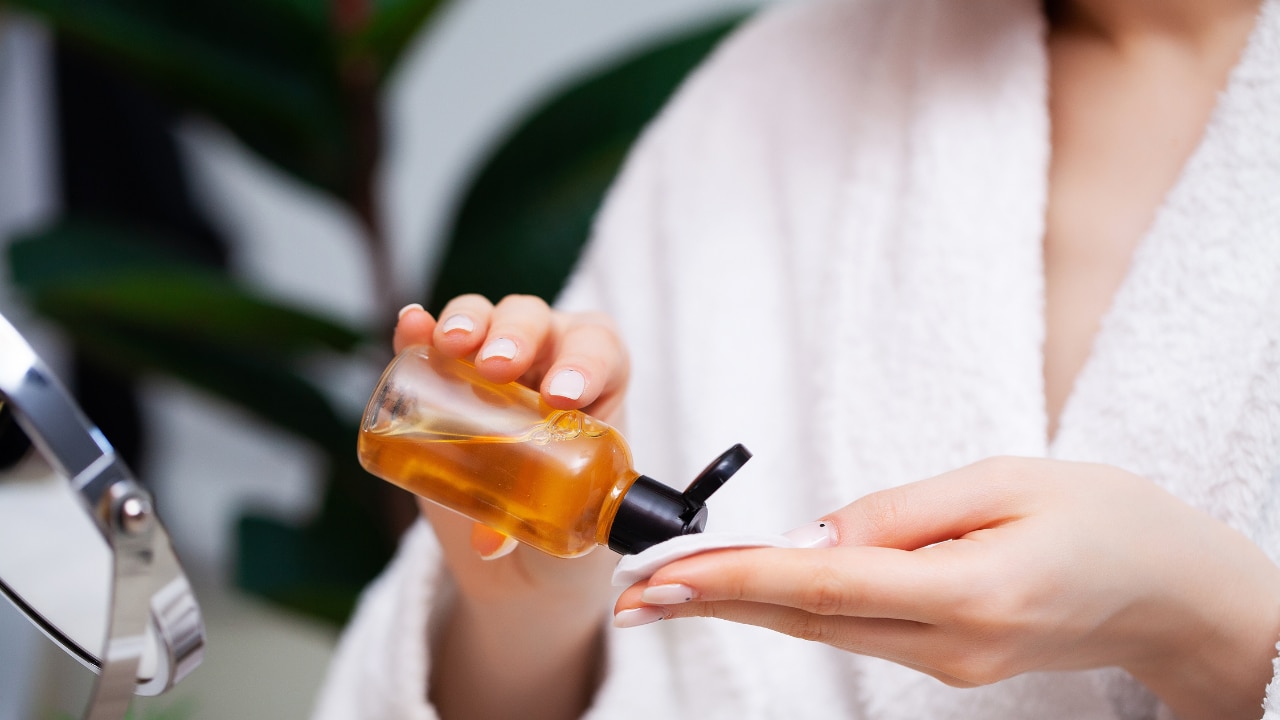
Step 5: Tone It Up
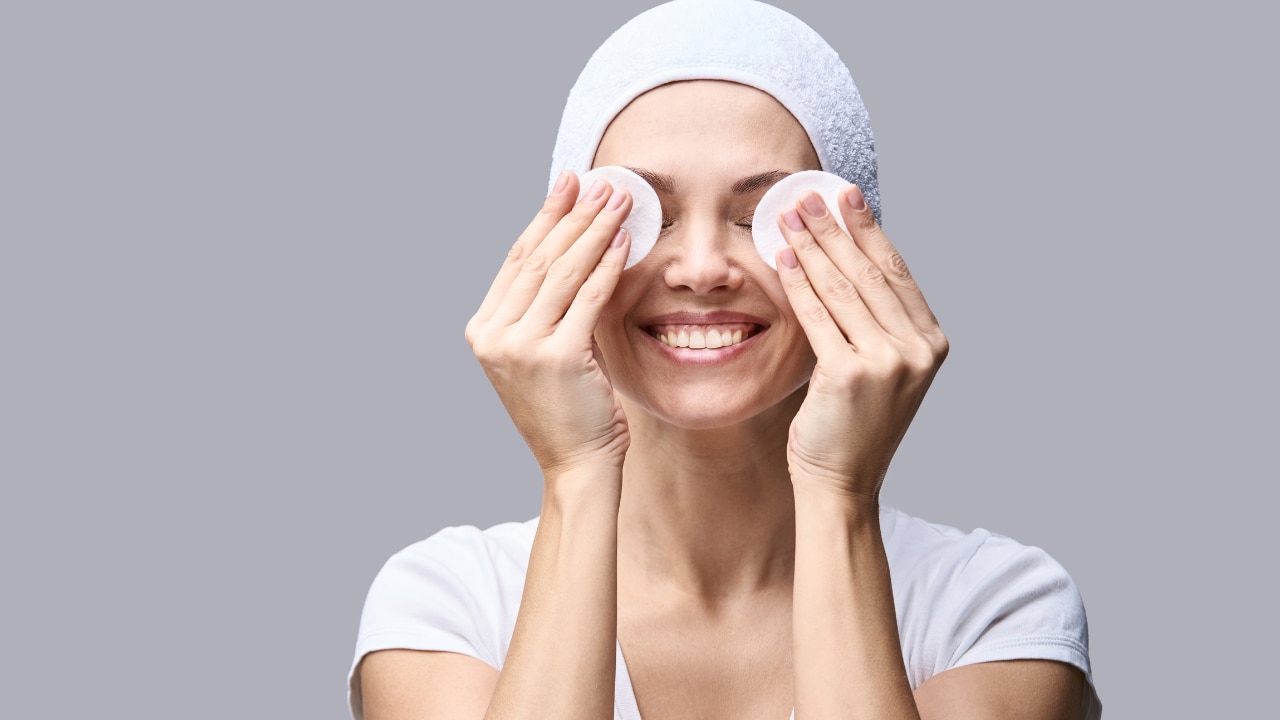
After rinsing off your mask, use a toner to rebalance the skin's pH and tighten pores. Simple Soothing Facial Toner is alcohol-free and perfect for calming post-mask skin.
Pro tip: Apply toner with a cotton pad or pat gently with clean hands.
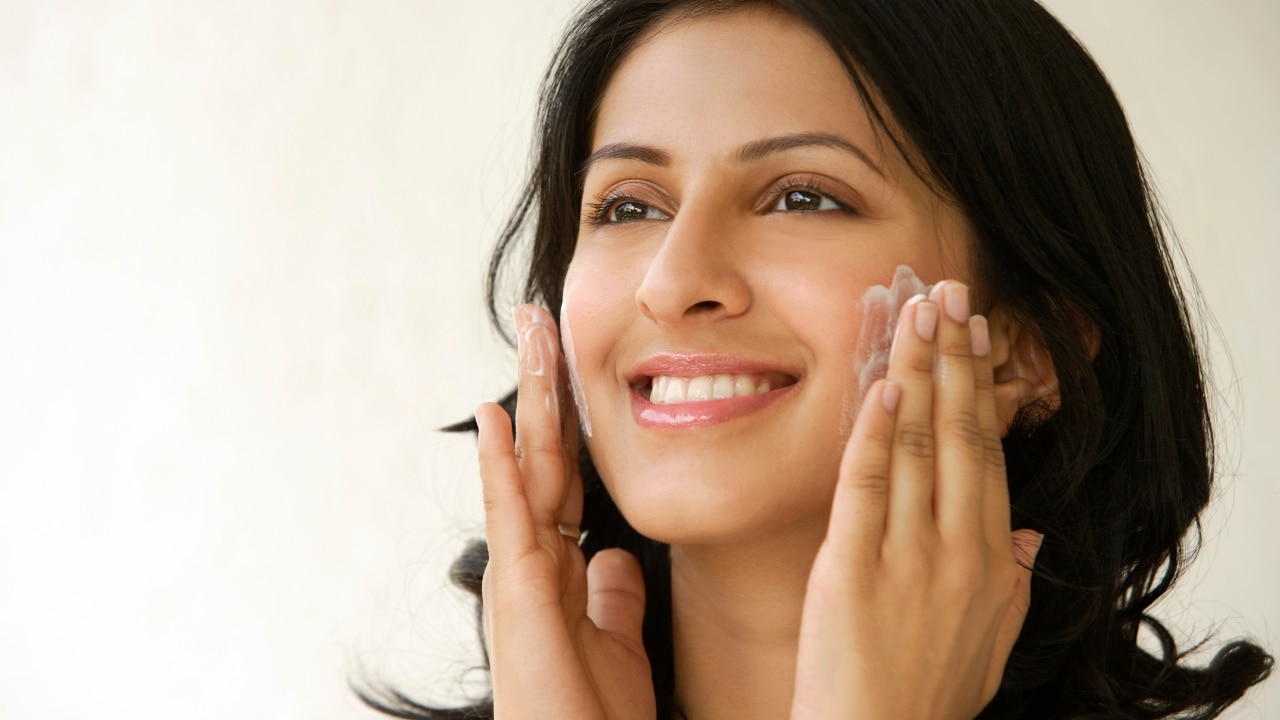
Step 6: Moisturise Deeply
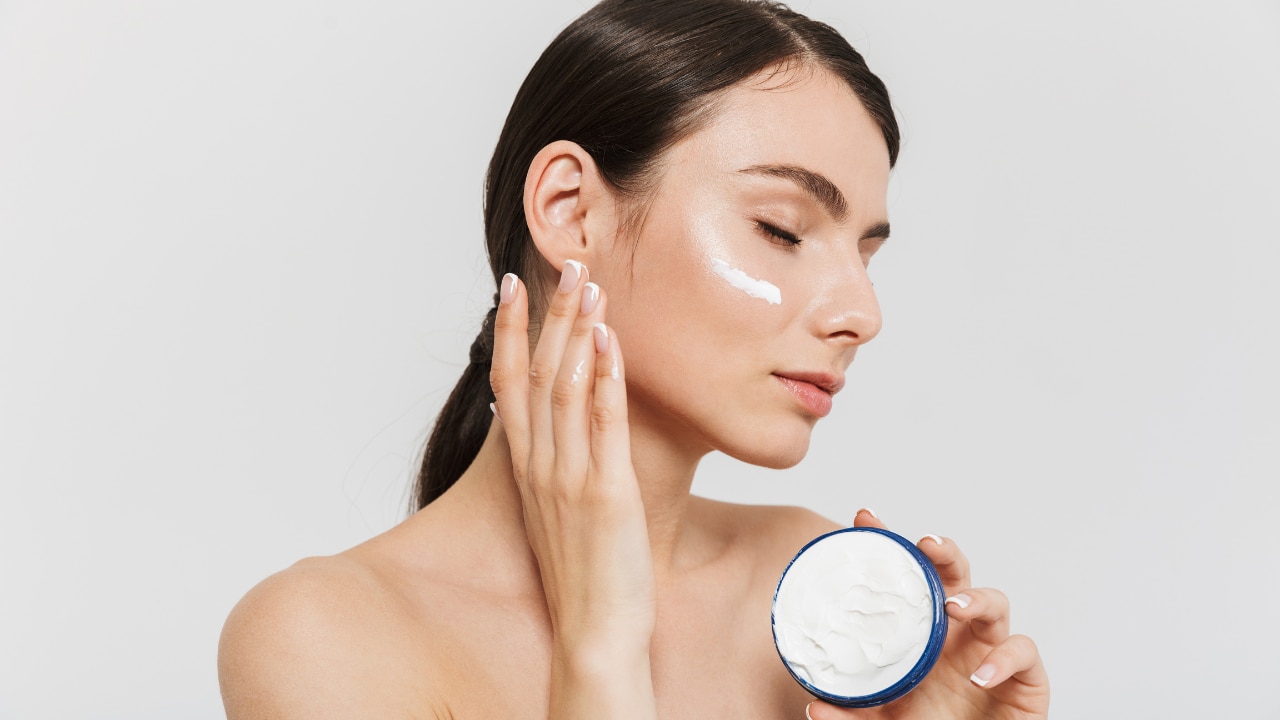
Lock in hydration with a good moisturiser. For lightweight hydration that doesn't clog pores, use Pond's Super Light Gel — it's especially ideal for oily or combination skin. Prefer something gentler? Simple Hydrating Light Moisturiser keeps skin nourished without feeling greasy.
Massage your moisturiser in gentle upward motions to boost circulation and absorption.
Step 7: Optional – Face Massage

If time allows, give yourself a 5-minute facial massage using your moisturiser or a facial oil. This improves lymphatic drainage and helps sculpt your face.
04Post Facial Care at Home for Glowing Skin
The work doesn't stop once the facial ends. To ensure your skin stays radiant for days:
- Avoid Makeup for 24 Hours: Let your skin breathe and fully absorb the benefits of the facial.
- Stay Hydrated: Drink plenty of water to keep your skin plump and glowing.
- Use Sunscreen Daily: Post-facial skin can be more sensitive. Don't skip SPF.
- Skip Harsh Products: Avoid retinols or strong acids for 1–2 days post-facial.
- Stick to Simple Products: Continue with gentle care, like Simple toner and light moisturisers, to maintain the results.
- Don't Touch Your Face: Prevent breakouts by keeping your hands off your freshly cleaned skin.
05Final Thoughts
Now that you know the essential facial steps at home, glowing skin is no longer reserved for salon days. By following this routine, using the right products, and giving your skin the care it deserves, you'll see a visible difference in both texture and tone.
The best part? Everything you need—from a simple clay mask to a hydrating moisturiser —can be done at your own pace, in your own space.
So dim the lights, play your favorite relaxing playlist, and give your skin the spa-worthy treatment it deserves. Your glow-up starts now!
06FAQs
1. How often should I do a facial at home?
Once every 10–14 days is ideal for most skin types. Overdoing it may lead to irritation or dryness.
2. Can I skip the steaming step?
Yes, especially if you have sensitive or rosacea-prone skin. Steaming is beneficial but not essential.
3. Is a clay mask good for all skin types?
Clay masks like the Simple Protect N Glow Vitamin C Brighten Clay Mask work best for oily to combination skin. If you have dry or sensitive skin, use a hydrating mask instead.
4. Can I use kitchen ingredients for a facial?
DIY masks are popular, but they can be risky. Stick to dermatologist-tested products for safe, effective results.
5. What if I don’t have a toner?
Toners help, but you can skip them if you're using a hydrating moisturiser and a gentle cleanser. That said, a simple toner like the one from Simple helps soothe and refresh post-cleansing skin.