
- 01 What is Baking Makeup?
- 02 How Does Baking Makeup Work?
- 03 Benefits of Baking
- 04 Tools and Products Needed for Baking Makeup
- 05 Baking Makeup Steps: How to Bake Your Face Like a Pro
- 06 Tips and Tricks for Perfect Baking Makeup
- 07 Common Baking Mistakes to Avoid
- 08 Hair and Skin Prep Bonus Tip
- 09 FAQs About Baking Makeup
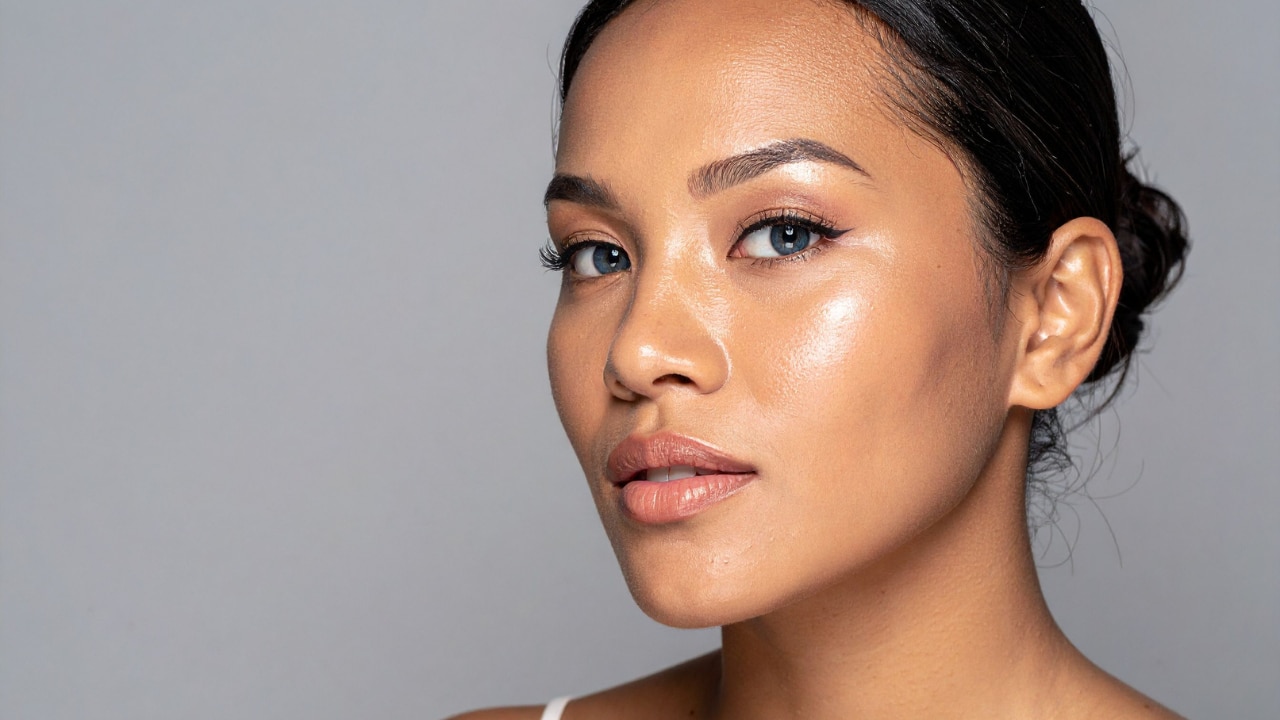
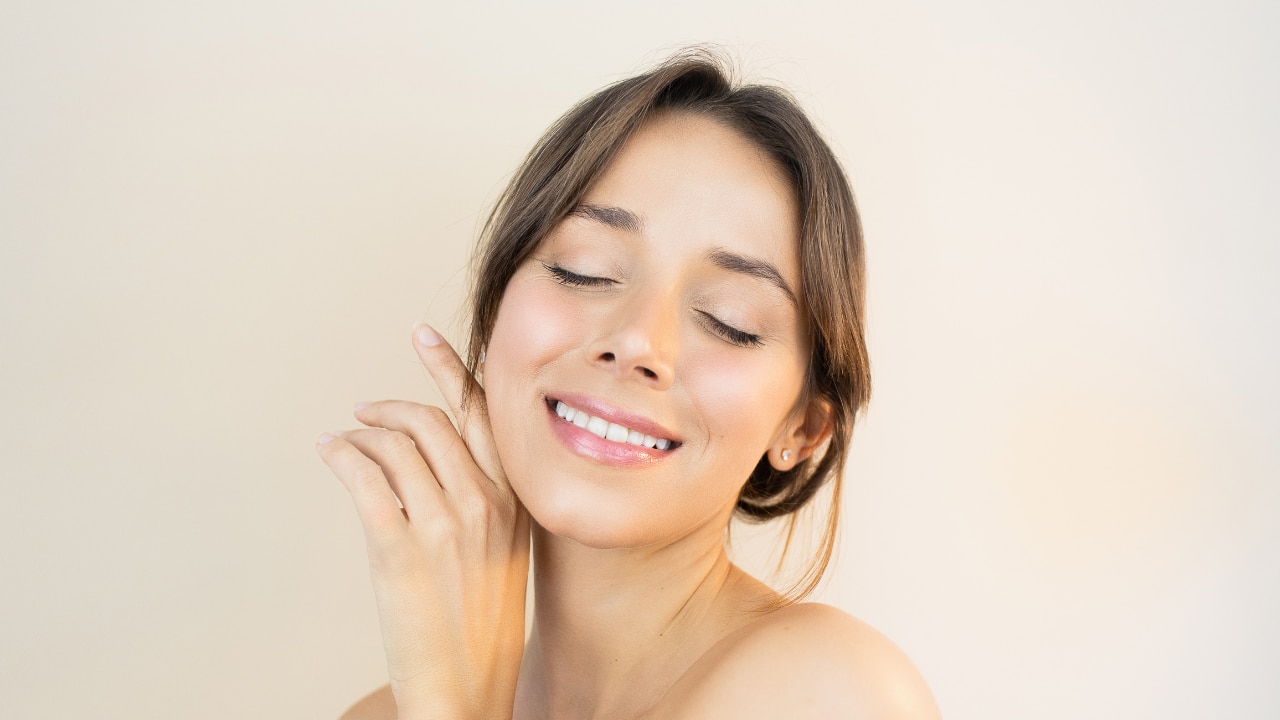
If you've ever wondered how makeup artists get that smooth, poreless, red-carpet-worthy look, the secret is often baking makeup. It's a technique loved by beauty influencers and professionals alike because it keeps your makeup in place for hours while giving you that flawless, crease-free finish. And the best part? Once you learn how to bake your face, you'll never worry about smile lines, under-eye creases, or fading concealer again.
In this guide, we'll break down everything you need to know about the baking makeup technique—from what it is and how it works to step-by-step instructions, expert tips, and common mistakes to avoid.
01What is Baking Makeup?
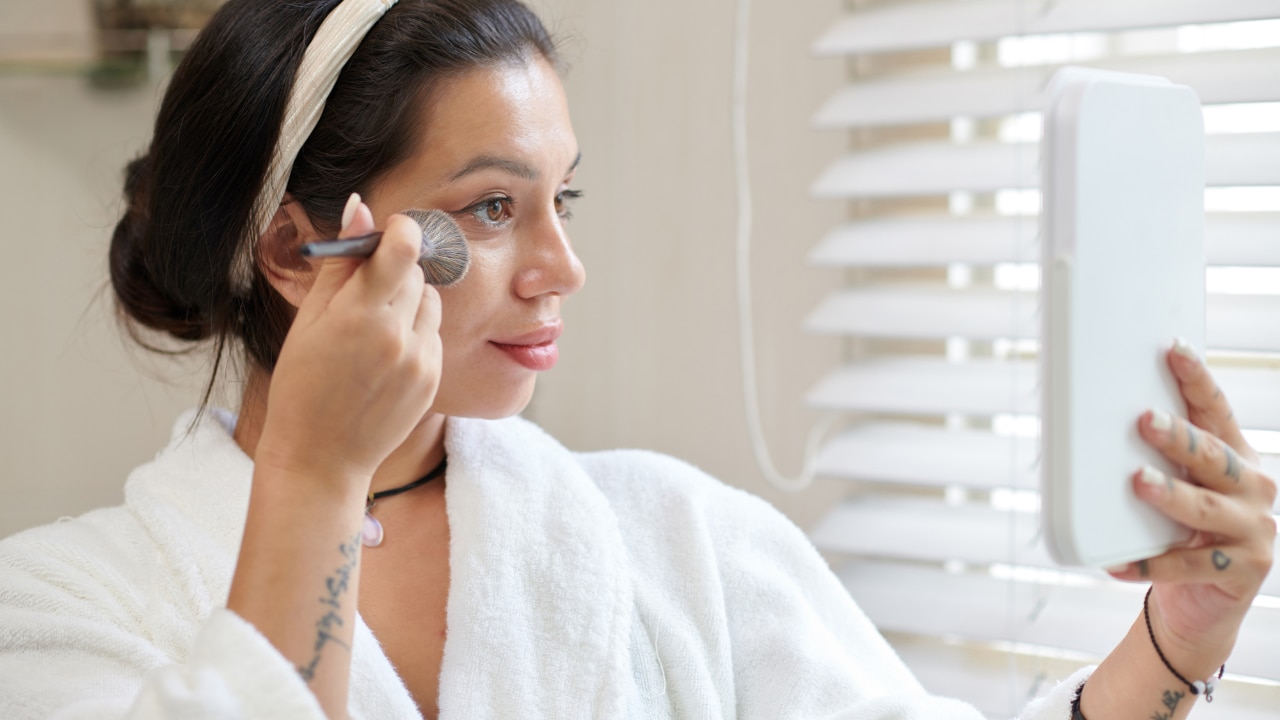
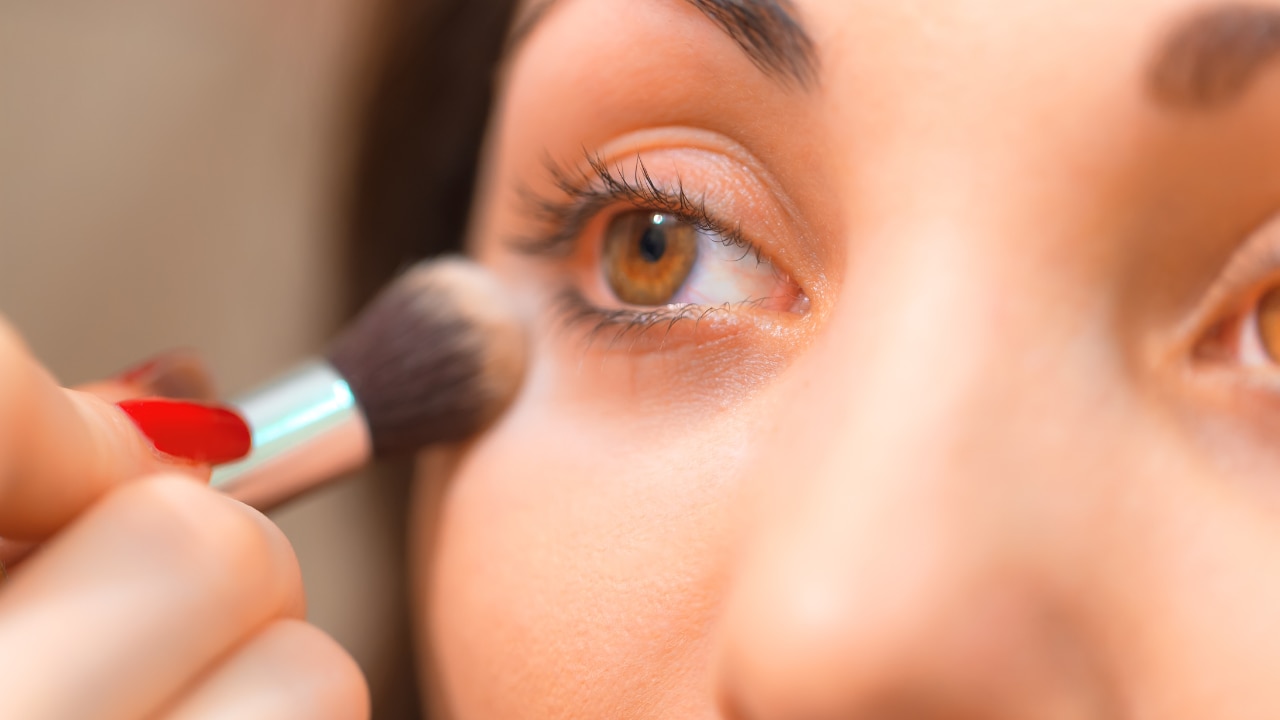
At its core, baking makeup involves letting a thick layer of translucent or loose setting powder sit on your skin typically under the eyes, along the T-zone, or anywhere you want extra crease control for 5–10 minutes before dusting it off.
The concept actually comes from drag makeup, where long stage performances demanded makeup that wouldn't budge under harsh lights. Over time, it made its way into mainstream beauty because the baking makeup steps give your concealer and foundation staying power while leaving skin looking airbrushed and oil-free.
So, when people talk about baking powder makeup or ask, "what is baking powder for makeup?", they're essentially referring to the translucent powder that 'bakes' into your base makeup for that locked-in effect.
02How Does Baking Makeup Work?
The science is simple yet genius. Your face naturally produces heat, which helps melt your foundation and concealer into your skin. By layering loose powder on top, the powder absorbs excess oil and sets the base while the heat from your skin ensures everything blends seamlessly.
That's why how does baking makeup work is often explained as a combo of heat + powder + time = creaseless, long-lasting makeup. When you dust off the excess powder after a few minutes, you're left with a smooth, matte finish that doesn't budge.
03Benefits of Baking
- Extended Wear: Baking locks in your base makeup—like concealer and foundation—for a smooth, budge-proof finish that lasts all day.
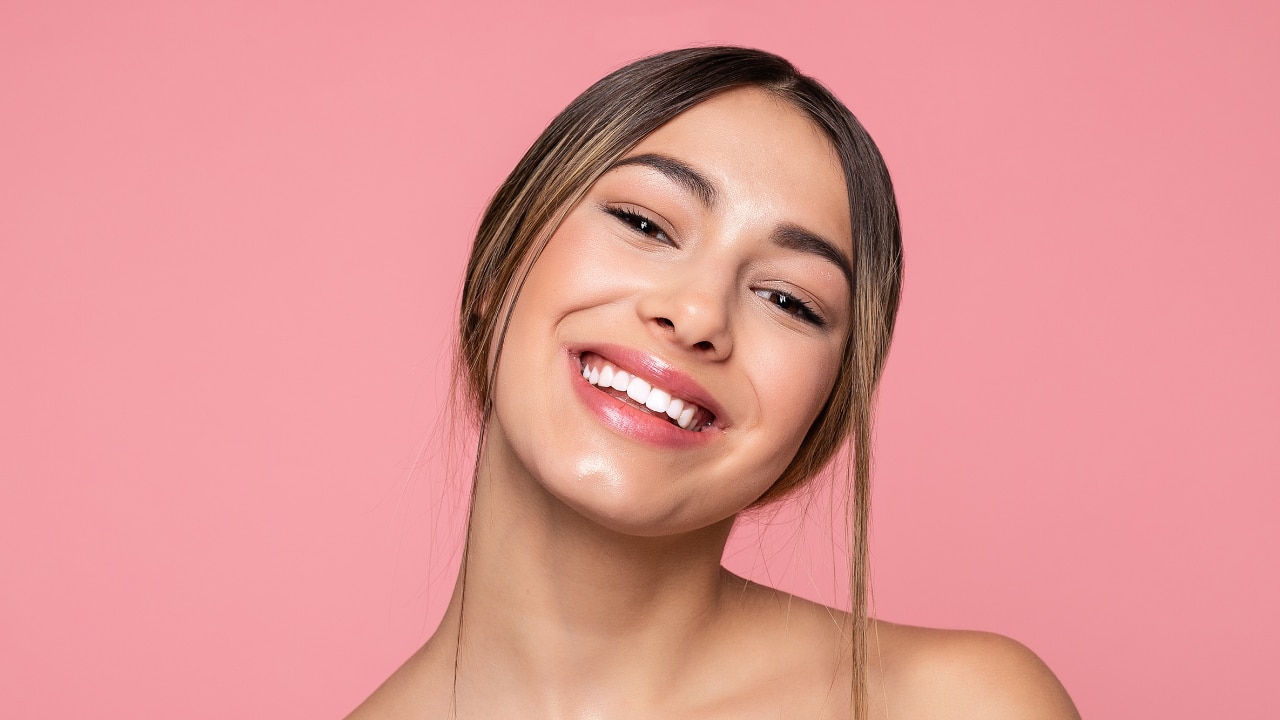
- Brightens Target Areas: Perfect for under the eyes and T-zone, it helps lift and illuminate the face, giving a fresh, wide-awake look.
- Oil Control: By soaking up excess sebum, baking keeps shine at bay and leaves the skin looking naturally matte, not greasy.
- Face Definition: Strategically placing powder during baking can subtly sculpt and sharpen facial features, like cheekbones and the jawline.
04Tools and Products Needed for Baking Makeup
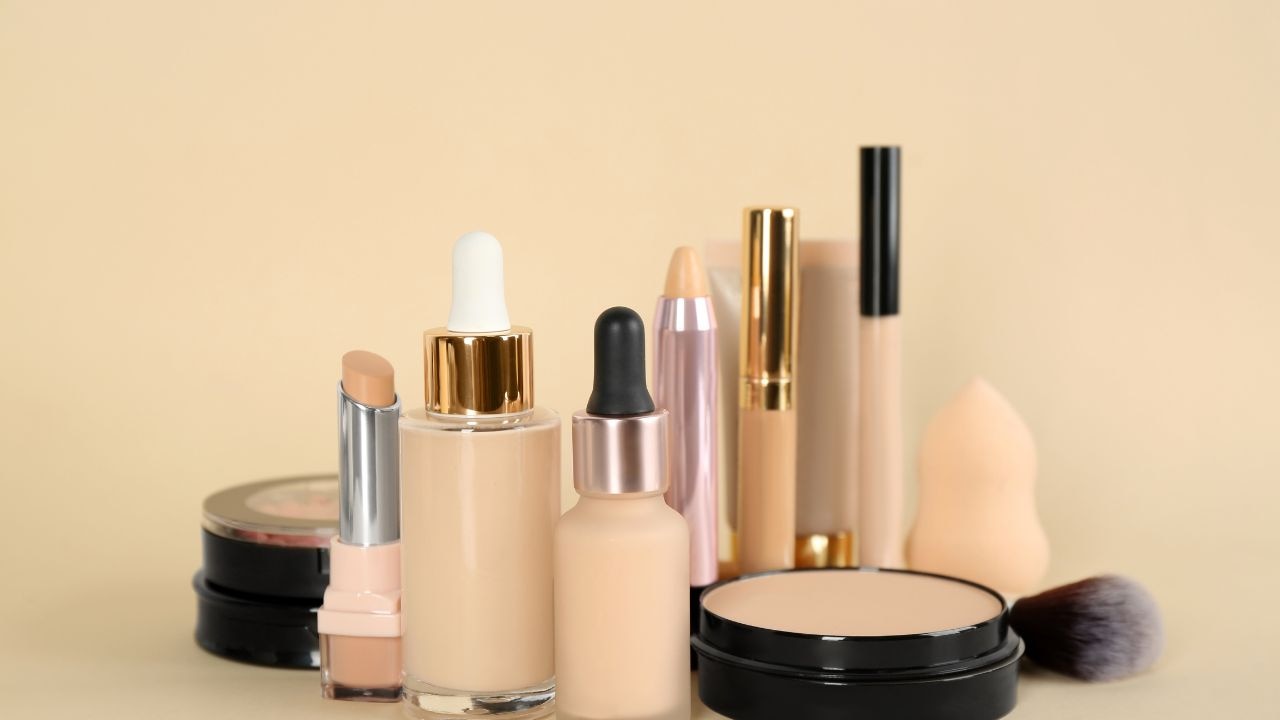
Before diving into baking makeup steps, make sure you have the right tools and products:
- Primer: A smoothing base like Lakme Blur Perfect Primer ensures your makeup glides on evenly.
- Foundation & Concealer: A good base, such as Lakmē Xtraordin-airy Mattereal Mousse Foundation topped with Lakmē 9 to 5 CC Cream for extra coverage, gives you the perfect canvas.
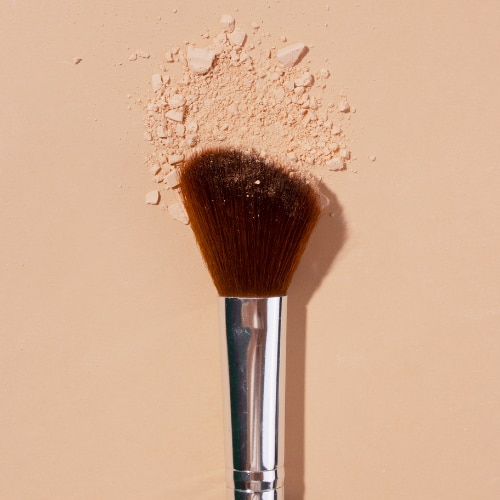
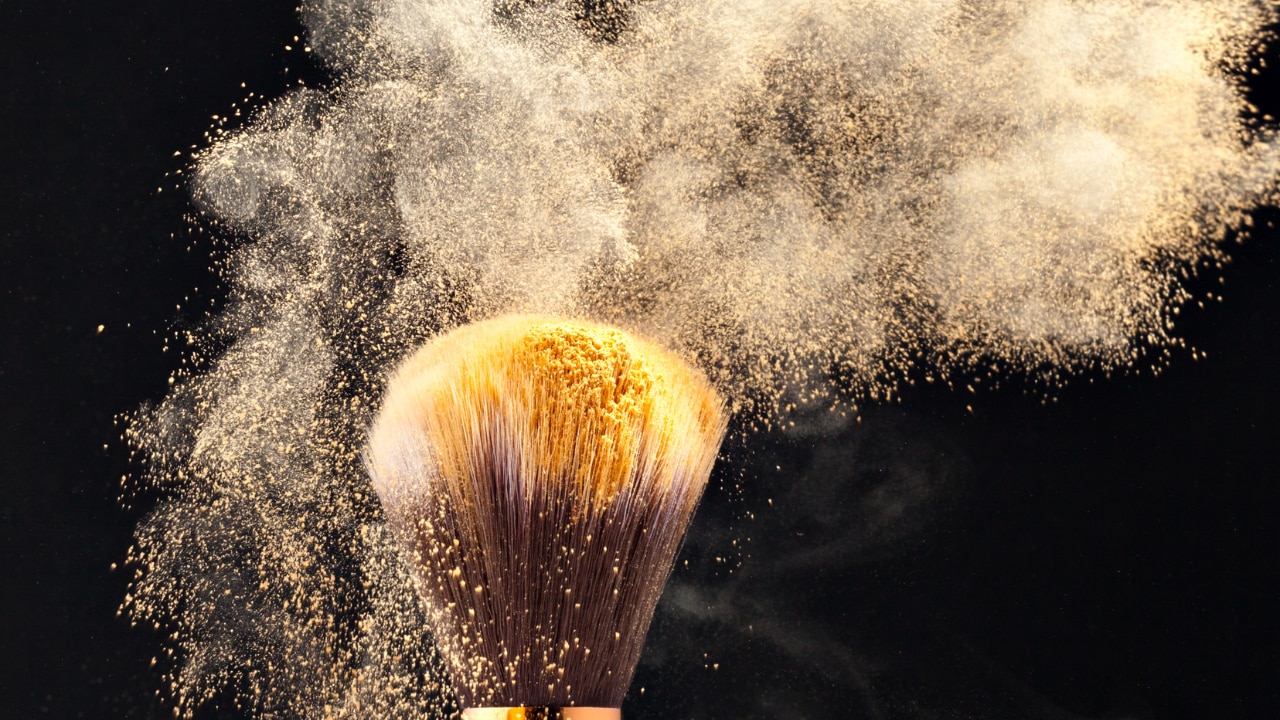
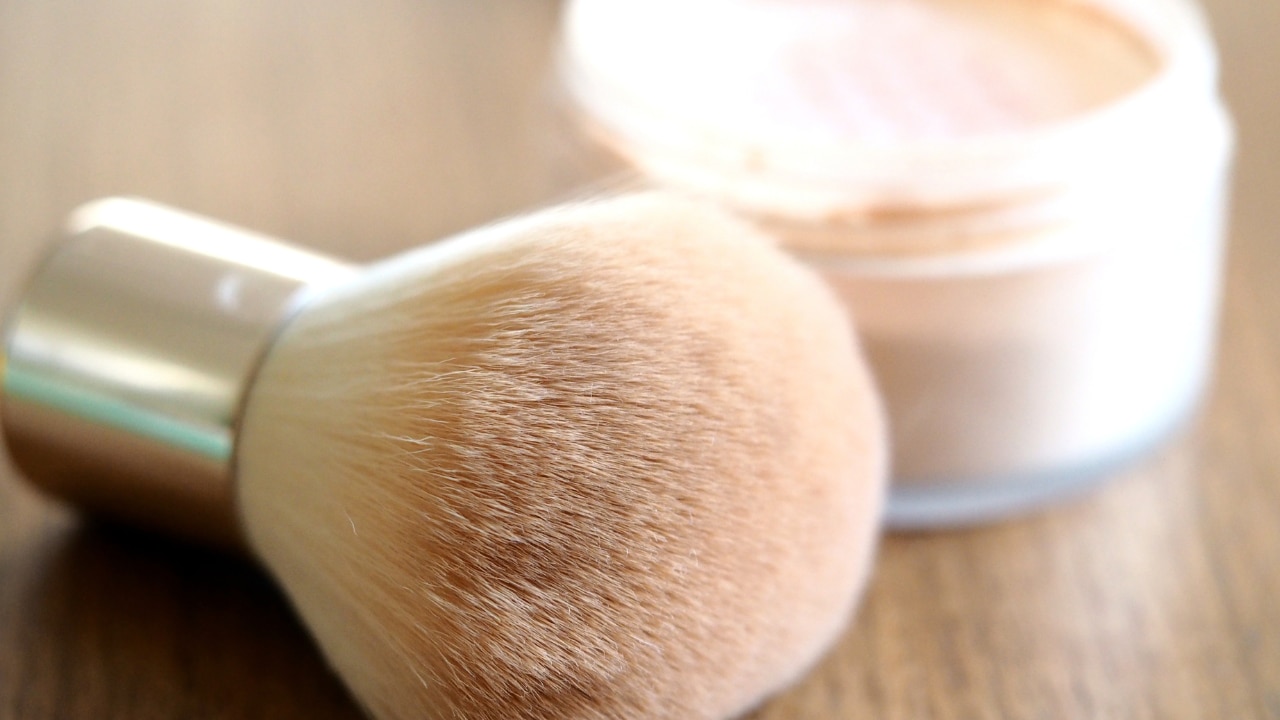
- Loose Setting Powder: Preferably translucent, lightweight, and finely milled for a natural finish.
- Damp Beauty Sponge or Makeup Puff: For pressing the powder into the skin.
- Fluffy Powder Brush: To dust off the excess powder.
- Setting Spray (Optional): For locking everything in.
05Baking Makeup Steps: How to Bake Your Face Like a Pro
Ready to learn how to bake your face like a pro? Follow these baking makeup steps to learn how to bake your face properly. Here's the step-by-step process:
1. Start with a Clean Base:
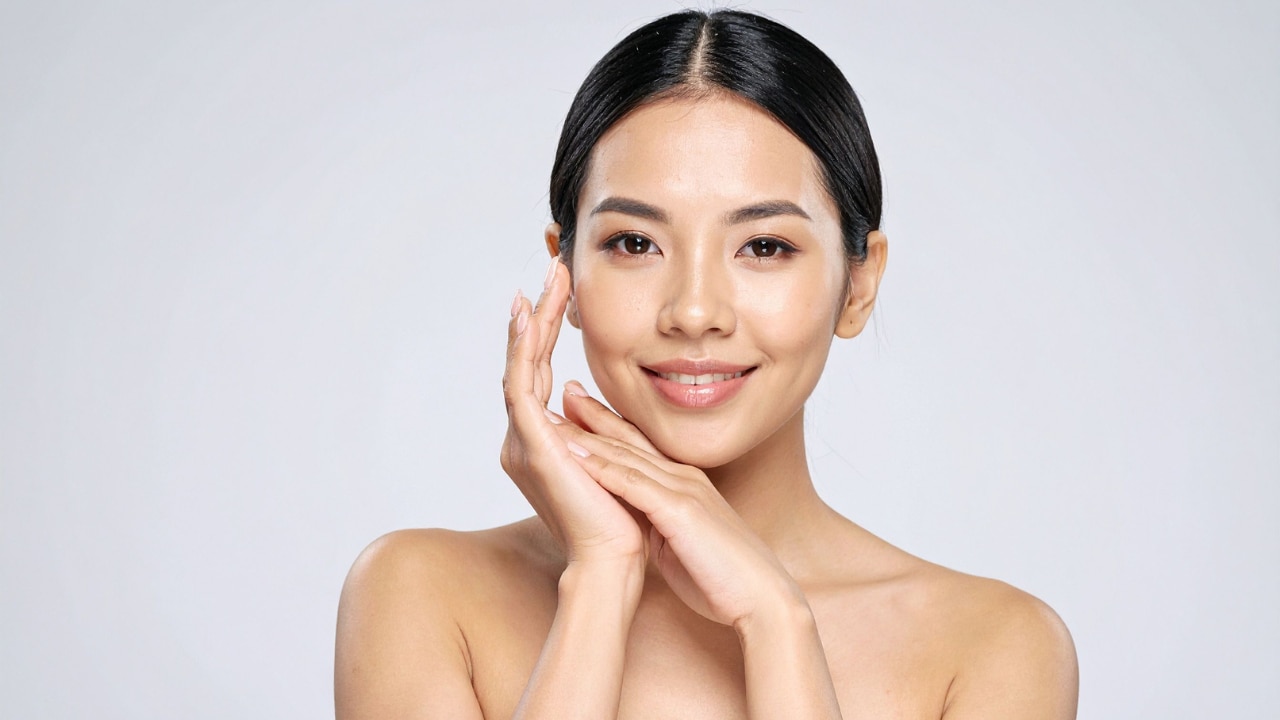
Begin with freshly cleansed skin. Apply a lightweight, non-greasy moisturizer to keep your skin hydrated and create a smooth canvas. Hydrated skin helps the makeup sit better and prevents cakiness, especially in dry areas. Pro tip: Look for moisturizers with hyaluronic acid or glycerin—they plump up the skin and hold moisture throughout the day.
2. Prime the Skin:
Next, apply a makeup primer tailored to your skin type. A pore-filling or blurring primer helps minimize the appearance of fine lines and pores, while also extending the wear of your foundation. Focus on areas where your makeup tends to break up—usually the T-zone, around the nose, and under the eyes.
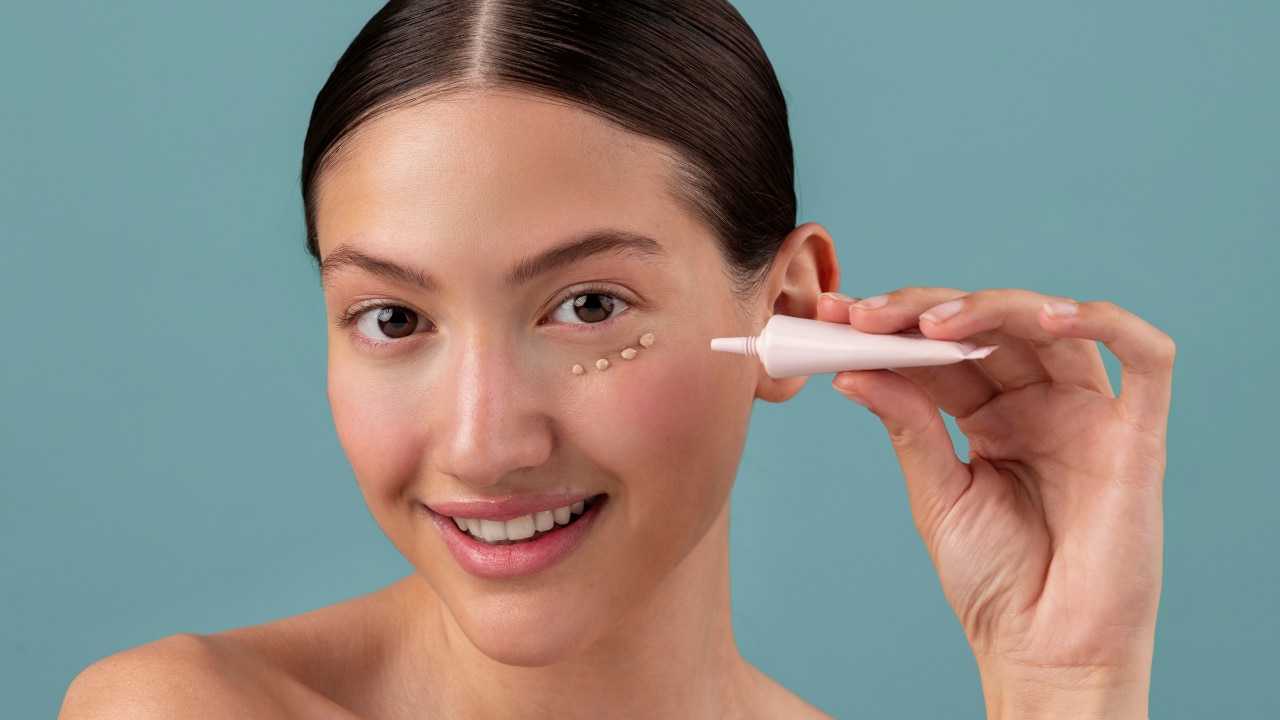
3. Apply Foundation & Concealer:
Even out your skin tone with a foundation that matches your complexion. Follow up with a concealer or CC cream under the eyes, around the corners of the nose, and anywhere you want to highlight or correct. Tip: Use a slightly lighter shade of concealer under the eyes to help with brightening. Blend upward toward the temples for a lifted look.
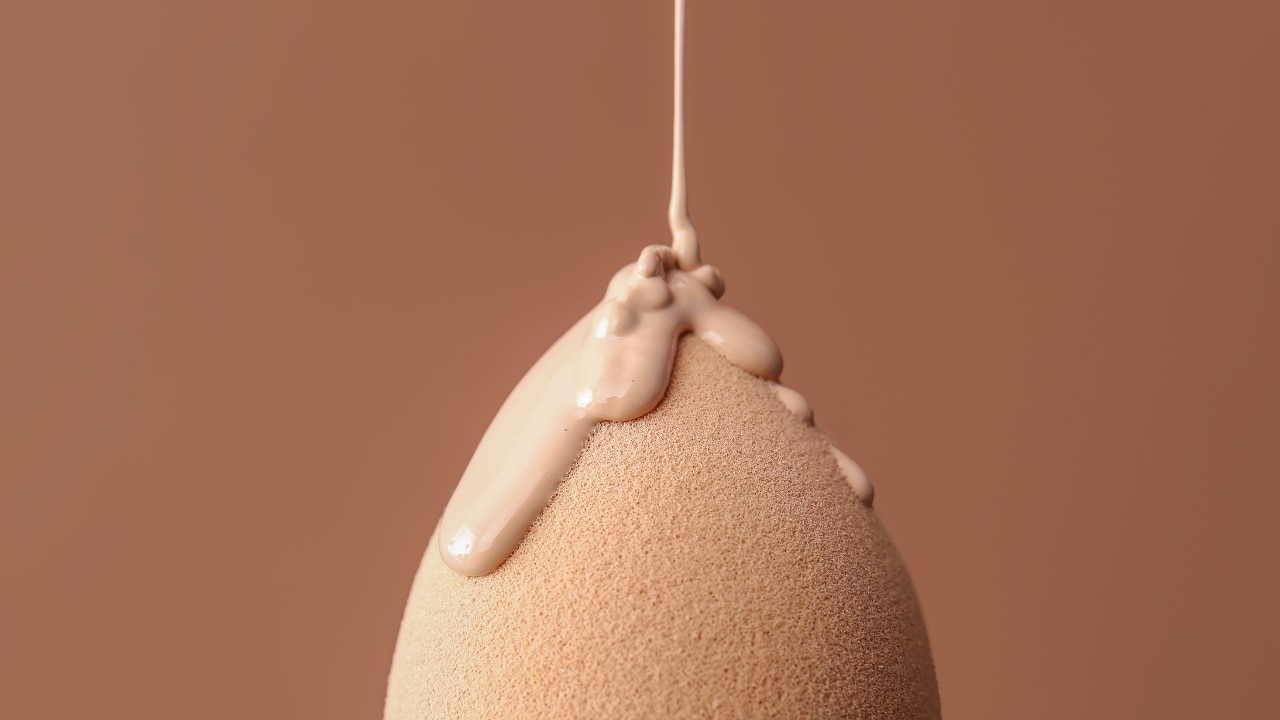
4. Blend Well:
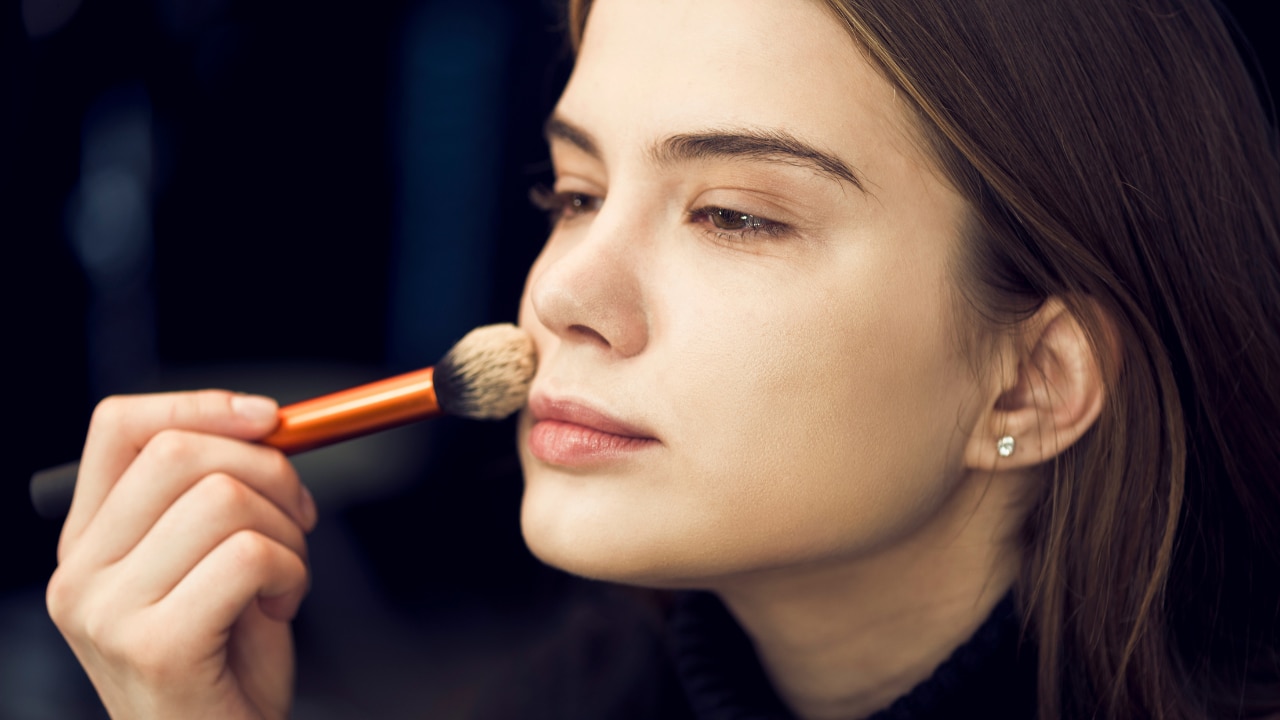
Using a damp beauty sponge (not wet), gently bounce and press the foundation and concealer into your skin. Blending is key to ensuring that your base looks seamless and natural. Avoid dragging the sponge—pressing motions help maintain coverage and avoid streaks.
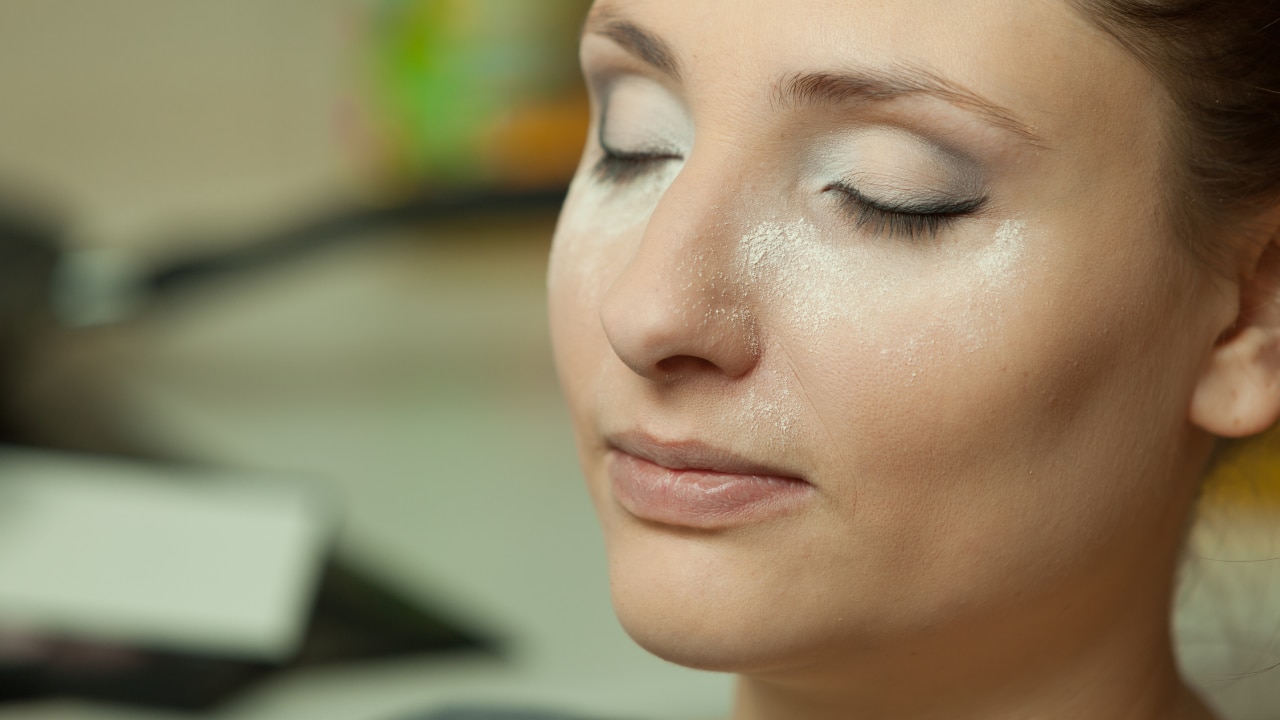
5. Apply Loose Powder Generously:

Now comes the actual baking step! With the same damp sponge, dip into a translucent or banana-toned loose powderand press a generous layer under the eyes, along the smile lines, on the chin, center of the forehead, and jawline. Don't blend it in yet—this thick layer of powder is meant to sit on top of your skin to absorb excess oil and set the product underneath.
6. Let It Sit:
Allow the powder to "bake" for about 5 to 10 minutes. During this time, your natural body heat helps melt the base products into the skin while the powder absorbs oil and locks everything in place. Use this time to fill in your brows or apply your eye makeup—multitasking while you bake!
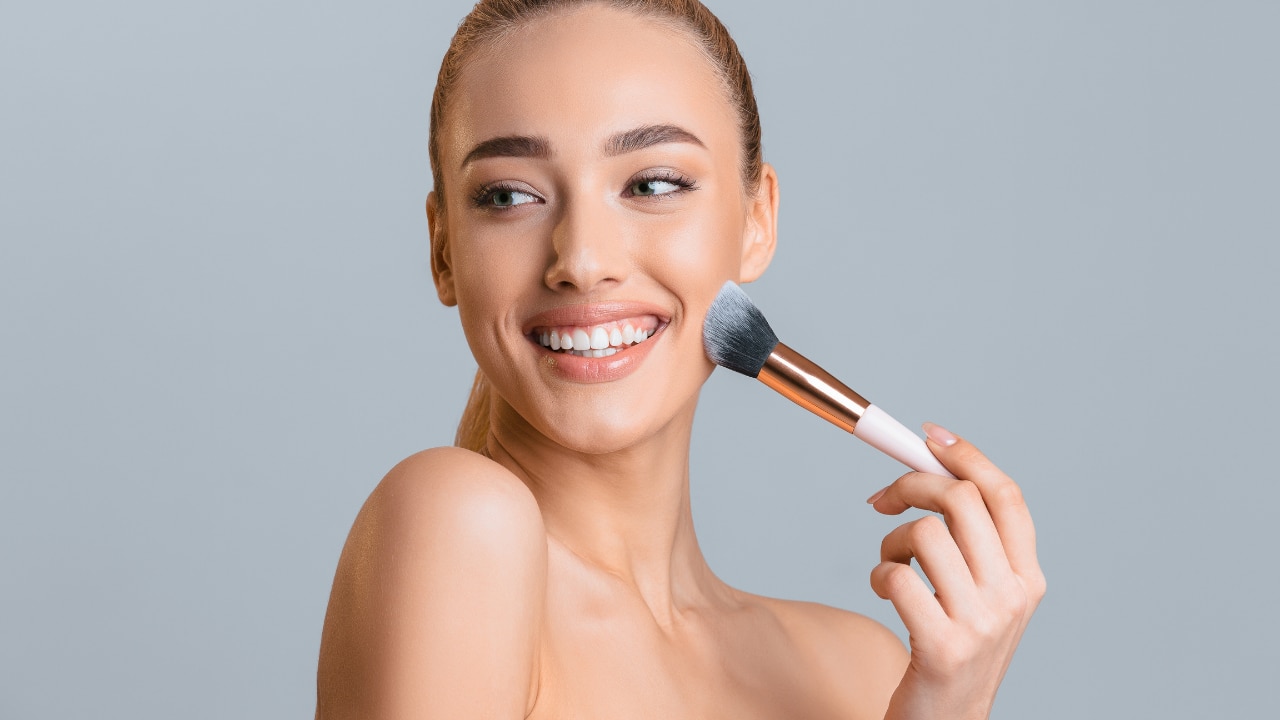
7. Dust It Off:
Using a fluffy powder brush, gently sweep away the excess powder. Make sure to blend it out completely to avoid any white cast or patchiness. The baked areas should now look smooth, matte, and lifted. Be gentle, especially under the eyes, to avoid disturbing your base makeup. 8. Finish Your Makeup:
Once you've dusted off the excess powder, go ahead and finish the rest of your makeup routine. Add some color and dimension back to your face with blush, highlighter, and bronzer. Complete your look with a swipe of Lakmē 9 to 5 Eyeconic Kajal for a bold, smudge-proof finish that lasts as long as your baked base.
Bonus Tips:
- Choose a finely milled loose powder for baking to avoid a cakey finish.
- Avoid baking every day if you have dry or mature skin—opt for light setting instead.
- If you're doing flash photography, avoid powders with heavy silica, which can cause flashbacks.
Skin Type Note Baking makeup works best for oily and combination skin, as it helps control excess shine and keeps makeup in place for longer. However, if you have dry or mature skin, it's best to use this technique sparingly and with a light hand—too much powder can settle into fine lines and accentuate dryness. Always prep with a hydrating moisturizer and avoid baking for more than a few minutes on dry areas.
06Tips and Tricks for Perfect Baking Makeup
Here are some expert-approved tips to get the best out of your baking makeup technique:
- Use a damp sponge, not a wet one, for pressing in the powder.
- Don't skip moisturiser or primer—baking works best on smooth, hydrated skin.
- Choose a finely milled powder; chunky powders can look cakey.
- Only bake the areas where you crease the most (under-eyes, smile lines).
- Less is more if you have dry skin—use minimal powder to avoid over-mattifying.
- Try a tinted loose powder if you want a subtle coverage boost.
- Always dust off excess powder completely to avoid flashback in photos.
07Common Baking Mistakes to Avoid
Even though baking makeup is easy once you get the hang of it, here are some mistakes beginners often make:
- Skipping skin prep: Dry, unprepped skin + powder = patchiness.
- Using the wrong powder shade: White powders can leave flashback; translucent or skin-toned powders work better.
- Applying too much powder on dry skin: It can emphasise texture.
- Not blending foundation properly before baking: This locks in streaks instead of smoothness.
- Leaving powder on for too long: More than 10 minutes can look cakey instead of flawless.
08Hair and Skin Prep Bonus Tip
While baking focuses on makeup, your overall look benefits when your hair is in place too. A sleek style with frizz-free hair can elevate your makeup game. Use a nourishing shampoo and conditioner before styling so everything looks polished.
Learning how to bake your face might sound like a pro-level makeup trick, but with the right products and these simple steps, you can achieve a smooth, crease-free base every time. Whether you're attending a wedding or just want your makeup to last all day, the baking makeup steps ensure your look stays flawless from morning to night.
09FAQs About Baking Makeup
1. What is baking powder for makeup?
It's a loose setting powder used to 'bake' or set your makeup in place for a crease-free, long-lasting finish.
2. How long should you bake your makeup?
Typically, 5–10 minutes is ideal. Any longer can lead to dryness or a cakey look.
3. Can you bake your face with pressed powder?
Loose powder works best because it's finely milled and easier to build up without looking heavy.
4. Does baking work for dry skin?
Yes, but use less powder and ensure your skin is well-moisturised beforehand.
5. Is baking makeup good for everyday wear?
It depends on your preference—baking is perfect for long events or hot weather but can be skipped for quick, daily makeup looks.


